The installation process of ComfortWall takes place in two stages. The first stage involves capping off the top of the roof cavity before roof cover is completed. In the second stage, the rockwool insulation is installed. Typically this will take place after the roof cover and electrical/plumbing pre-lay is completed and before the walls are floated. This can be for each storey of double storey homes. With complex constructions, the installation phases and process can vary.
Wet weather, construction delays and/or larger installations can have knock on effects to our scheduling. We will advise you if your installation date is affected, and we would ask you to keep in touch with us if your installation date is being pushed back.
One-off construction issues can also result in the need for a short notice installation (eg. the brickies forgot to install aircell!). We will work with you to prioritise the best possible installation time.
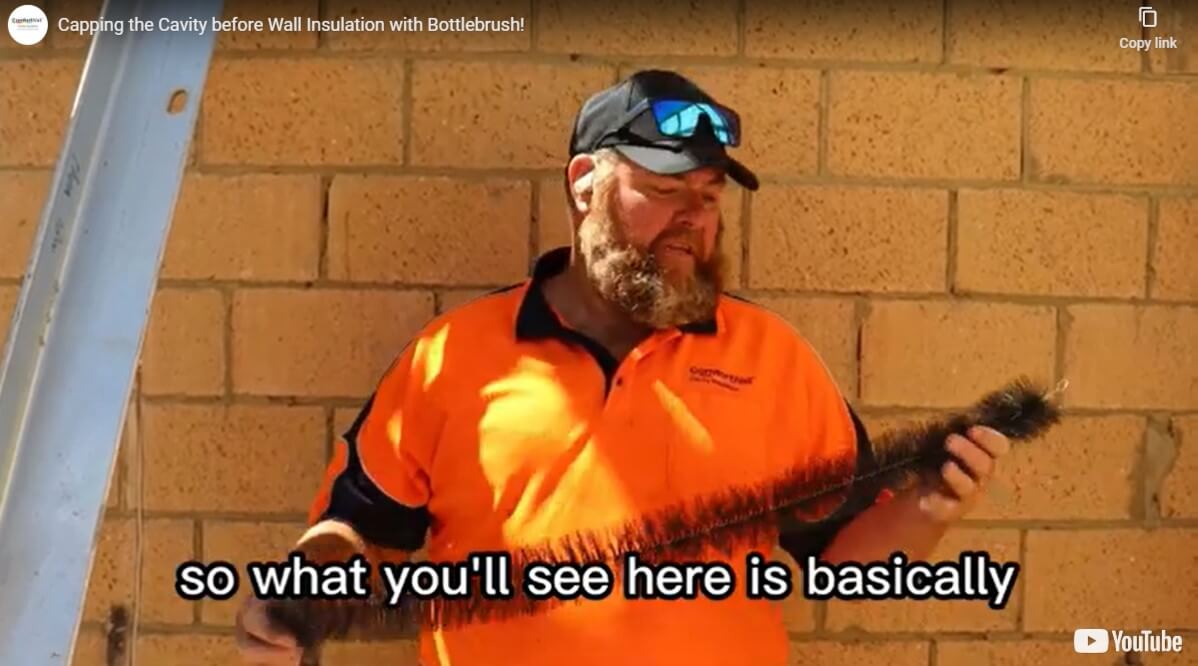
Phase 1: Capping off the Cavity
To prevent the granulated Rockwool from escaping out the top of the cavity upon installation under pressure, we need to cap off the top of the cavity.
This is completed after brickwork, before roof frame and roof cover.
A bristle-typed capping (“bottle-brush”) is installed at the top of the double brick cavity. This bottle-brush enables amenities to still be installed and doesn’t impede roof works.
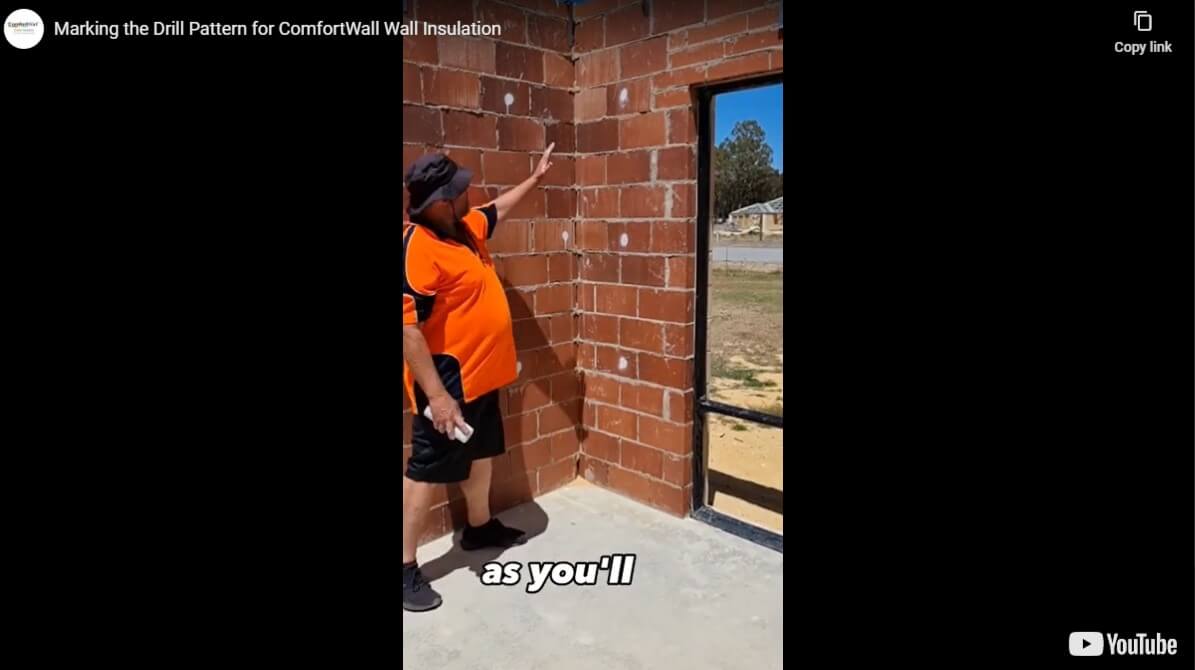
At this stage, we will often mark the location of the drill holes and often drill ready for Phase 2.
Once the roof cover is installed and all electrical/plumbing pre-lay is completed, we install it prior to internal plastering.
Roadside site access is required for a medium-sized truck (9m x 2.6m) for the duration of the installation.
The wall face must have clear access. If external and unscaffolded, the ground must be suitable for ladder use. Site conditions that do not allow the technician to work safely and/or do not allow the completion of the installation can result in a Site Mobilisation Fee.
Previous
Next
Post-Installation
The installed wall faces will have a pattern of 26mm diameter holes at appoximately 600-900mm centres.
There may be a small amount of dust, but negligible site bin rubbish.
Multi-storey Construction
Typically the installation is done per storey, working from the top to the bottom. As illustrated below, installation into upper level cavities is only possible when the bottom of the upper storey cavities terminate or are stopped with flashing.
Speak with us today about getting ComfortWall installed in your new home
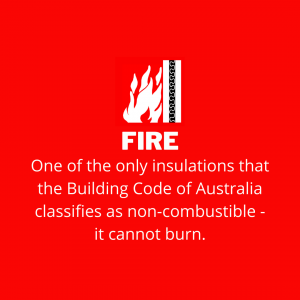
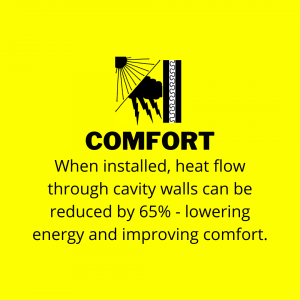
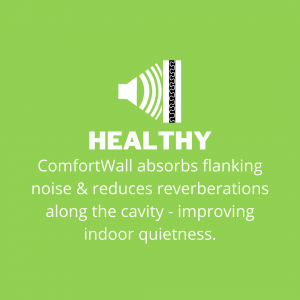
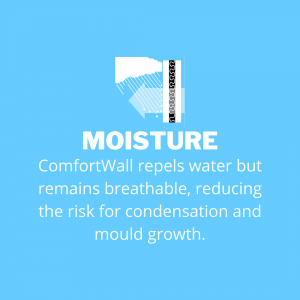
Click below to learn more about how ComfortWall creates a comfortable, noise-free home without the risks of fire or moisture.
Custom menu section
This is off canvas menu widget area. To enable it add some widgets into Appearance – Widgets – Menu Section, and go to Customizer – Main menu to set the icon position.


